You often need to handle urgent paperwork while away from your desk, like approving an invoice, signing a rental agreement, or sending back an offer letter. Waiting until you get home to print physical papers or sitting at a computer only slows things down. The quickest option is to sign a PDF on your iPhone directly, which lets you complete agreements and return them in minutes from wherever you are.
Method 1: Using a convenient online tool for electronic signatures
An online PDF signer makes the whole process fast because it works right in your web browser. You do not need to install extra software or waste storage on your device. As long as you have internet access, you can easily create a signature on iPhone, iPad, or Mac. Just open the page, add your signature to the file, and finish your work on the spot.
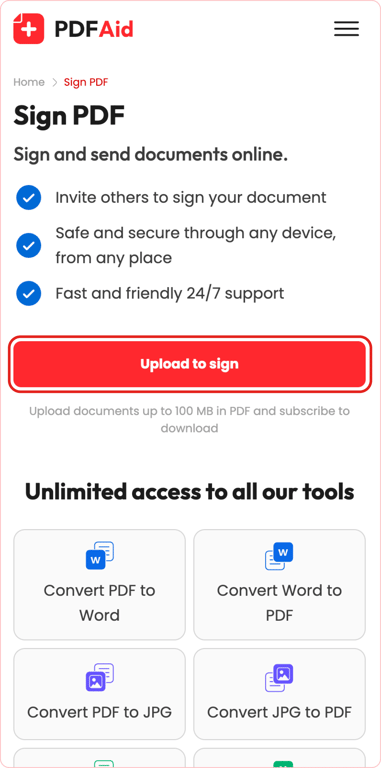
Step 1: Upload the document
Start by selecting the PDF you need to sign. Pick the file from your device. This makes creating an electronic signature on an iPhone or a Mac easy, as the document opens on your device immediately.
Step 2: Who will sign this document?
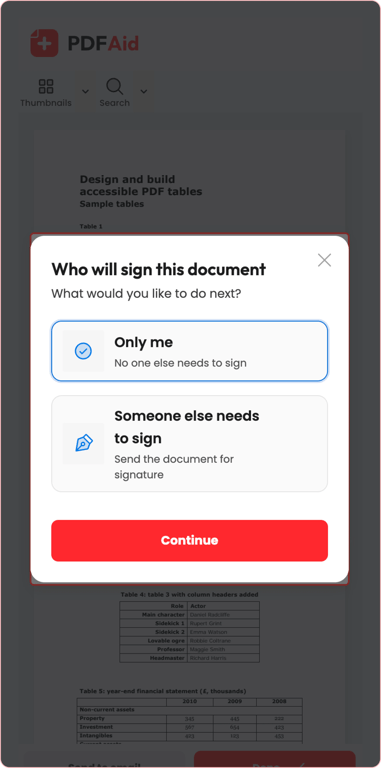
Once your file loads, you'll be asked who needs to sign the document. You have two choices:
Only me: Pick this if you are the only person signing.
Someone else needs to sign: Pick this if you need other people to add their signatures. You can collect signatures by having the file sent directly to their email addresses.
Setting this up lets you handle a simple digital signature on iPhone or manage signatures across an entire group.
Step 3: Draw, type, or use an image as an e-signature
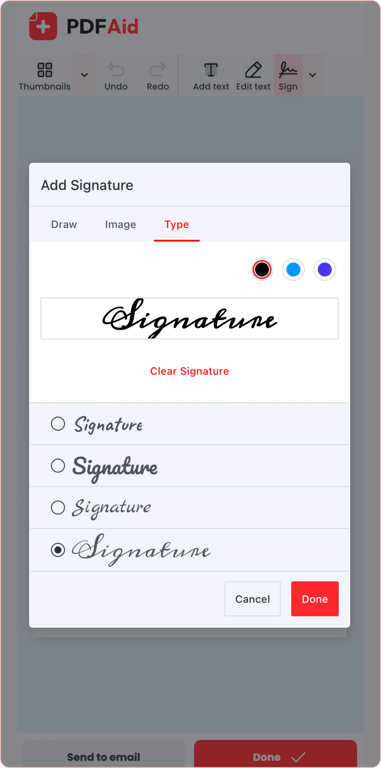
Next, create your signature using one of three options:
Draw: Sketch your signature with your finger or stylus.
Type: Type your name, then pick a font and color you like.
Upload image: Add a clear photo or scan of your handwritten signature.
Step 4: Choose the location where the signature should be placed
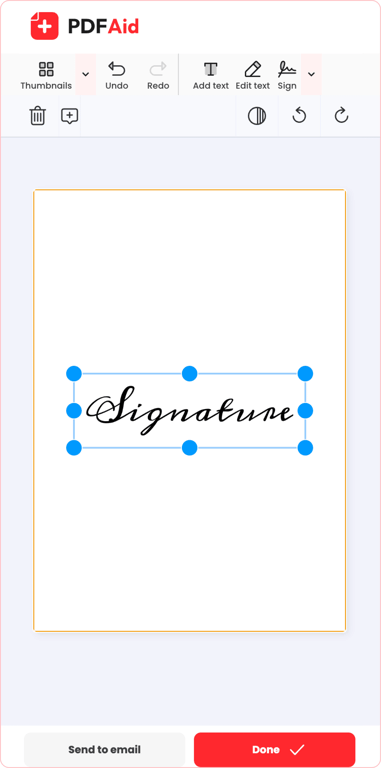
Once your signature is ready, place it on the document. Drag the signature block to the line or box where it belongs. You can also resize it so it fits the space naturally.
Step 5: Upload the signed document or send it via email
When everything looks right, finalize your file:
If you are the only signer, click Done to download the PDF to your device, or choose the option to send it straight to an email address.
If other people need to sign too, enter their email addresses and send the document out for them to review and sign.
Method 2: Using the iPhone’s markup tool
Apple includes a built-in feature called Markup on iOS, so you can sign files without downloading third-party software. It works directly inside system apps like Files, Mail, and Photos, letting you draw a signature with your finger and save it straight to the document.
Step 1: Open the document on Apple device and use markup tools
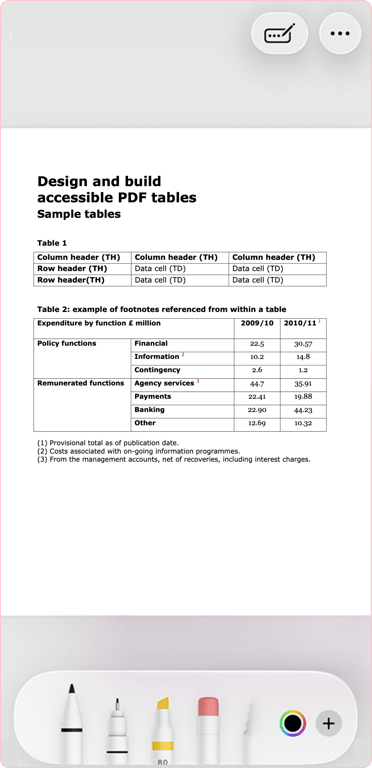
Open your PDF file on your iPhone or iPad in the Files app or from your email attachment. Tap the screen to bring up the menu, then tap the Markup icon (it looks like a pen tip inside a small circle) to open the editing toolbar.
Step 2: Adding a signature
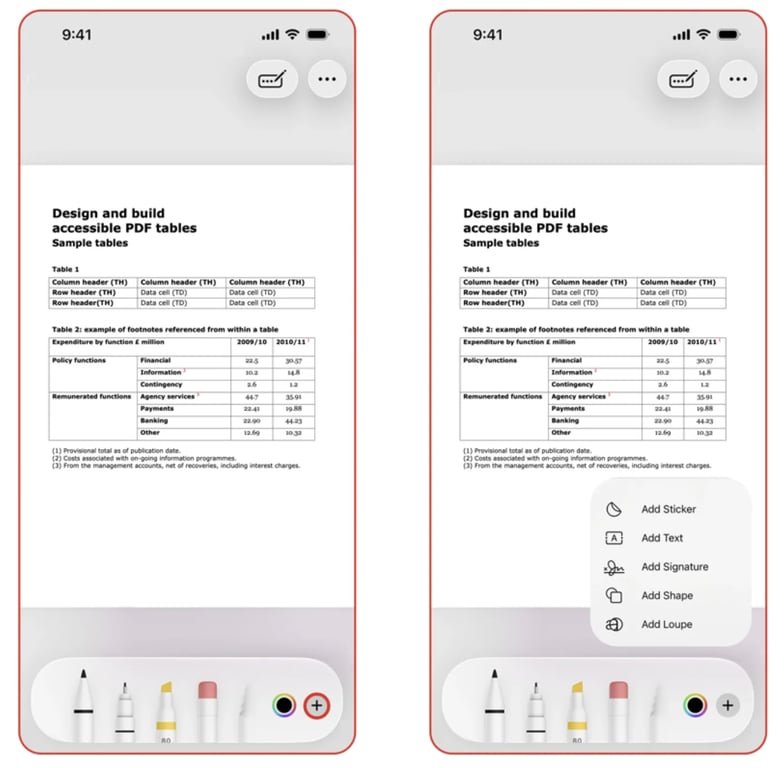
Once the Markup bar appears at the bottom of your screen, tap the plus sign (+) in the bottom-right corner. From the pop-up list of tools, select Add signature. If you already saved a signature before, tap it to add it instantly. If not, pick Add or remove signature to create a new one.
Step 3: Draw a signature
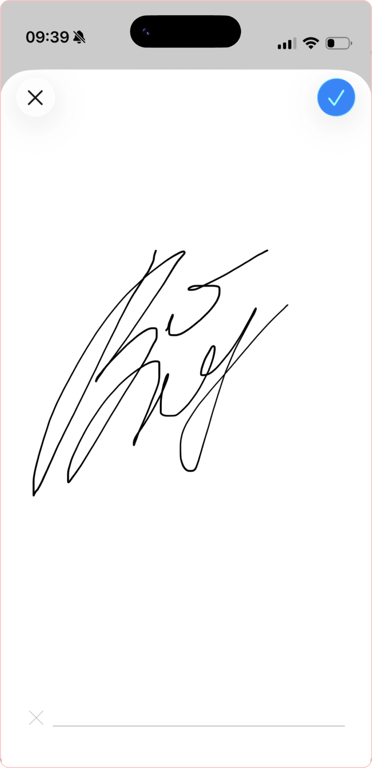
Use your finger or an Apple Pencil (if you’re using an iPad) to draw your signature directly on the screen. If you make a mistake, tap Clear to wipe it out and try again. When you like how it looks, tap Done in the top corner to keep it.
Step 4: Choose the location where the signature should be placed
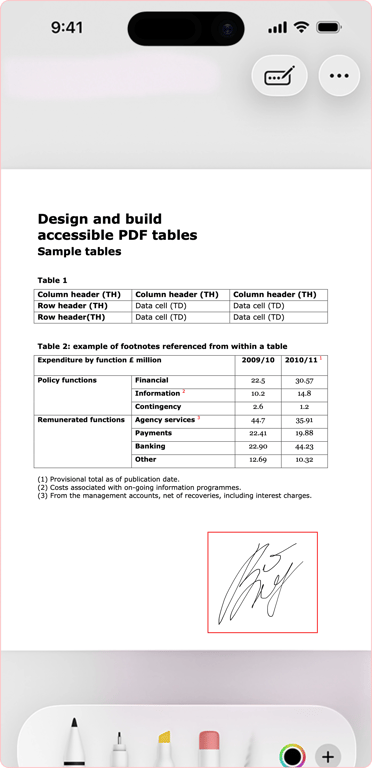
Your new signature will appear in a box on the PDF. Press and drag the box to the exact line or spot where you need to sign. You can also drag the blue dots on the corners of the box to make the signature larger or smaller so it matches the surrounding text.
Step 5: Upload the signed document or send it via email
After positioning your signature, tap Done to save the changes to your device. Next, tap the Share button to send the signed PDF using Mail, AirDrop, or any other app installed on your iPhone or iPad.
PDFAid eSign tool VS Markup tool
Both tools put an e-signature in an iPhone document, but they fit different needs. You can quickly add a handwritten signature on an iPhone using Apple Markup, but PDFAid gives you more options and works on all devices.
Multiple ways to create your signature
If you use your finger to write your signature on an iPhone, it usually looks shaky, and it’s hard to read. Markup lets you draw on the screen only, which can be annoying when you need a formal, polished result.
With PDFAid, you can type your name and pick a clean font, upload a clear image of your actual signature, or draw it on the screen. These options really help when you need to sign an official agreement. They also make it simple to show someone how to sign a form on an iPhone with a neat result.
Work on any device, not just Apple
Markup is strictly limited to Apple devices. Say you start a document on your iPhone. If you switch to a Windows laptop or an Android tablet later, Markup simply won't work there. PDFAid runs right in your web browser. You can open, review, and sign your PDFs on any device with no compatibility issues.
Easy sharing and collecting signatures from others
Markup only works if you are the only person signing on that device. If a contract needs approvals from coworkers, clients, or business partners, Markup can't handle coordinating those steps. If you use PDFAid, you can email the document directly to other people so that everyone can sign it without having to send and receive files back and forth.